Adding Interactive Forms and Quizzes to PowerPoint
While not a brand new feature (released late 2018), the integration of Microsoft Forms is with PowerPoint for Office 365 provides a seamless way for speakers, trainers, and educators to connect and interact with participants by adding surveys and quizzes directly into your presentations. What’s more is that presenters can get real-time audience feedback WHILE giving their presentations. As shown in a Microsoft Tech Community blog post, presenters can share a link to a survey while continuing to present with PowerPoint, allowing students or attendees to answer questions about what is being presented — with real-time tabulated results. One big caveat is that this feature is only available for PowerPoint Windows 32.
I’ve seen many presenters (and have done so myself) create separate surveys in a different app, and then share a link or QR code for people to complete during or following a presentation. What I like about this option is that it makes the survey or quiz part of your presentation. In fact, I have a couple PPT decks that I’ve posted to SlideShare or made available through OneDrive and then promoted through social channels. This integration would enable me to continue pulling down information from those presentations (as long as I leave the survey open).
I originally shared this tip as part of the February 2019 Productivity Tips webinar with Tom Duff (@duffbert), which you can find on the blog here, or watch on the CollabTalk YouTube page. You can also jump to this specific tip in the video by clicking here.
Adding a Microsoft Form
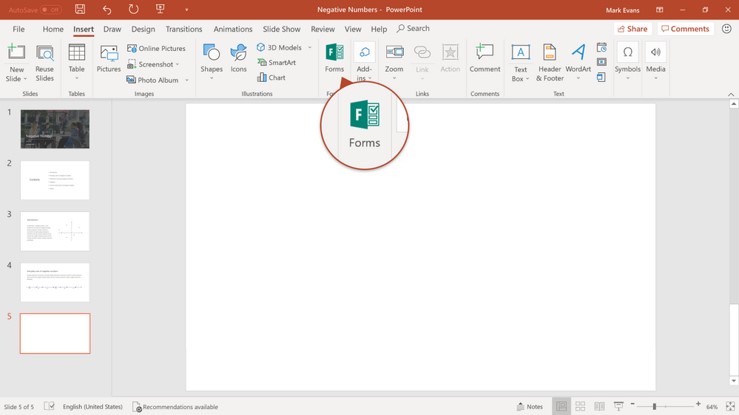
To get started, in PowerPoint under Insert, click on the Forms icon to create a new survey or quiz, or insert one that you have already created.
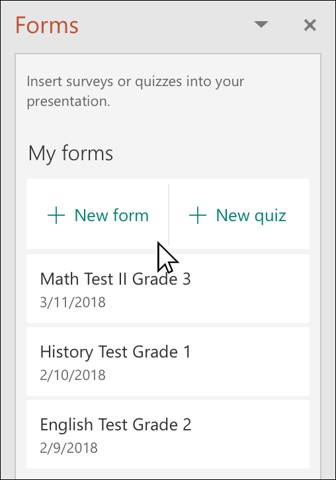
A dialog box opens on the right nav, allowing you to create a new form or quiz, or select from a list of already-created forms.
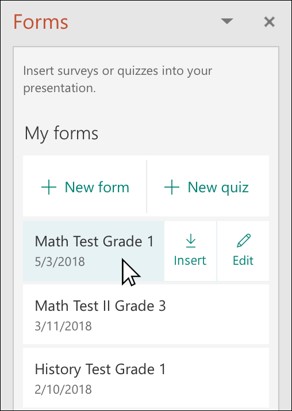
By selecting an existing form, you can quickly insert the form into your PowerPoint presentation, or edit the survey before adding it to your deck.
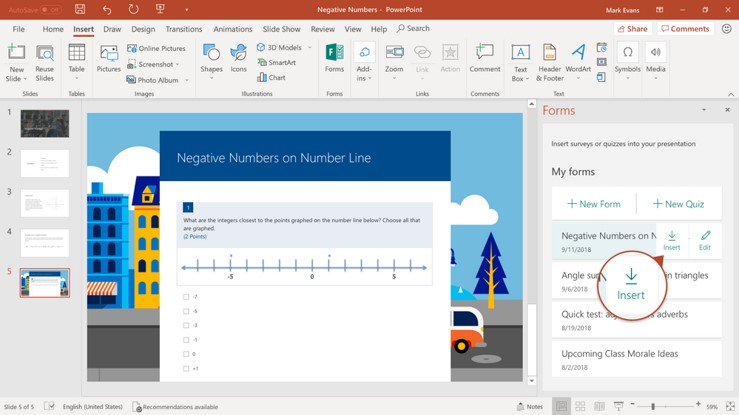
Once inserted, your survey or quiz will appear as a single slide within your deck.
From here, you can save your PowerPoint and publish. Remember that the survey or quiz is a cloud-based solution, so even if you have not shared your entire presentation, you can still share out the link to your survey and start getting responses.
Creating a Quiz
Maybe you work within the EDU sector and are looking for additional tools to engage with your students. Microsoft Forms allows educators to create and capture quiz results in real-time via PowerPoint.
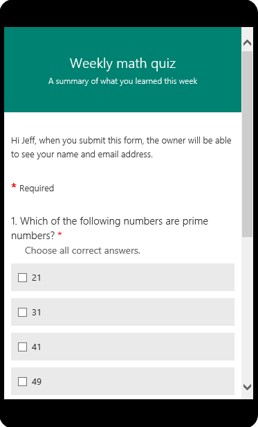
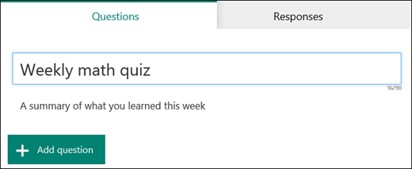
When creating a new quiz, follow the same steps above to insert your quiz into PowerPoint, and name your quiz. To start adding questions, click on Add Question.
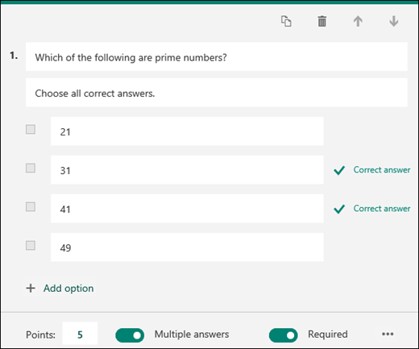
For each question, you can format as a choice with radio button, text response, rating (traditionally as a 5 or 7-point scale), or date field.
And yes, you also have the ability to allow multiple answers.
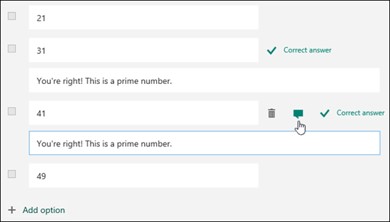
I also like how you have the ability to add some text to their responses, explaining why they were incorrect, or expanding on a correct answer with additional information.
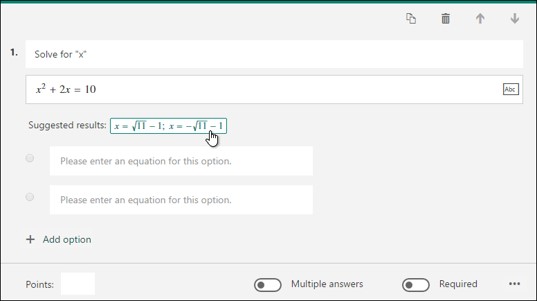
You also have the ability to include complex equations as your answers…..in case you’re a secondary school teacher and are building a mathematics quiz…
For a tutorial on building a quiz, check out the original Microsoft article on the topic at https://support.office.com/en-us/article/create-a-quiz-with-microsoft-forms-a082a018-24a1-48c1-b176-4b3616cdc83d
Reviewing form and quiz results
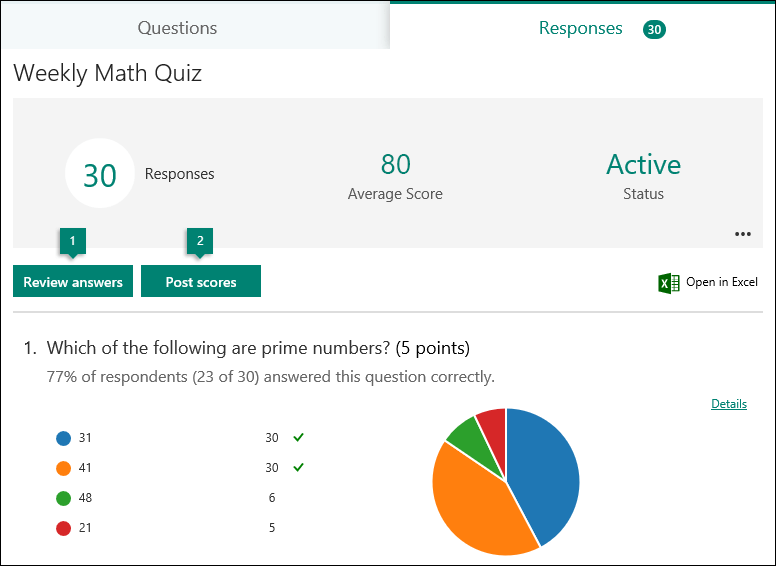
And finally, at the end of your presentation, you’ll want to review the results of your interactive survey or form. To see the responses, sign in to your Office 365 account at https://forms.office.com/. Within your My Forms page, open the appropriate form and select the Responses tab at the top of the page.
As outlined in a Microsoft Support article, there are a few options for sharing your survey results. For example, you can review the results per respondent, and provide feedback on individual questions. You can also post the scores of a quiz by respondent — or for all respondents. Additionally, you can create a summary link and share that with everyone, or download the data to Excel. Basically, it’s everything you need to track the progress of your students or attendees and share the results.
I hope you find this useful. Having sat through many sessions and presentations, I would love to see more of this kind of interaction with attendees. And now you know how to build these surveys on your own!

