Gathering Feedback with Polls in Microsoft Teams
In my opinion, one of the biggest “missing” features in Microsoft Teams has been its ability to easily insert polls during (and in the ongoing conversation following) a Meeting. Now that Microsoft Forms are generally available* across all global tenants (*I am not up on what is and isn’t available in government and some regionally restricted tenants), you can now kick off one or multiple polls during a meeting and track the results in real-time.
What this means is that meeting organizers/presenters can prepare polls in advance and launch the polls before, during, or after meetings that attendees can easily view and answer. As with any new feature or app, your Admin will need to go into Teams Admin Center > Teams Apps > Manage Apps to allow the Microsoft Forms app to be added. Once that is completed, you can get started by adding the Forms app to your meeting tabs and then building out your polls, as shown below.
This is another great tip shared in the most recent (November 2020) Microsoft 365 Productivity Tips webinar, which you can find on the blog, on the CollabTalk YouTube channel, or jump to this specific tip in the video by clicking here.
But let’s walk through the steps to help jumpstart your polling activities in your next Teams meeting!
Creating a new poll
You can create a new poll at the top of a chat or a channel, and once published, people can respond before, during, or after a meeting.
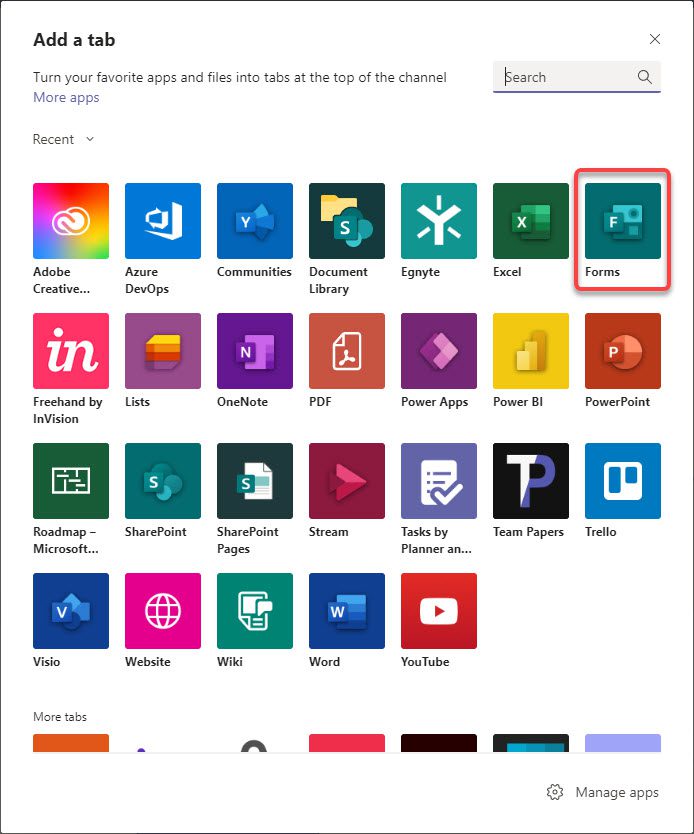
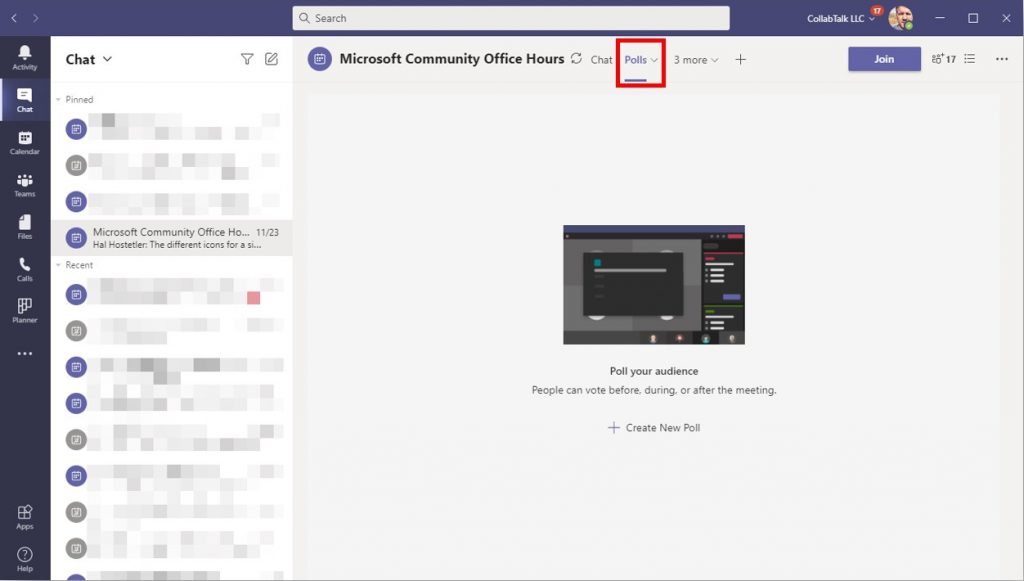
Selecting Forms will prompt you to add the app.
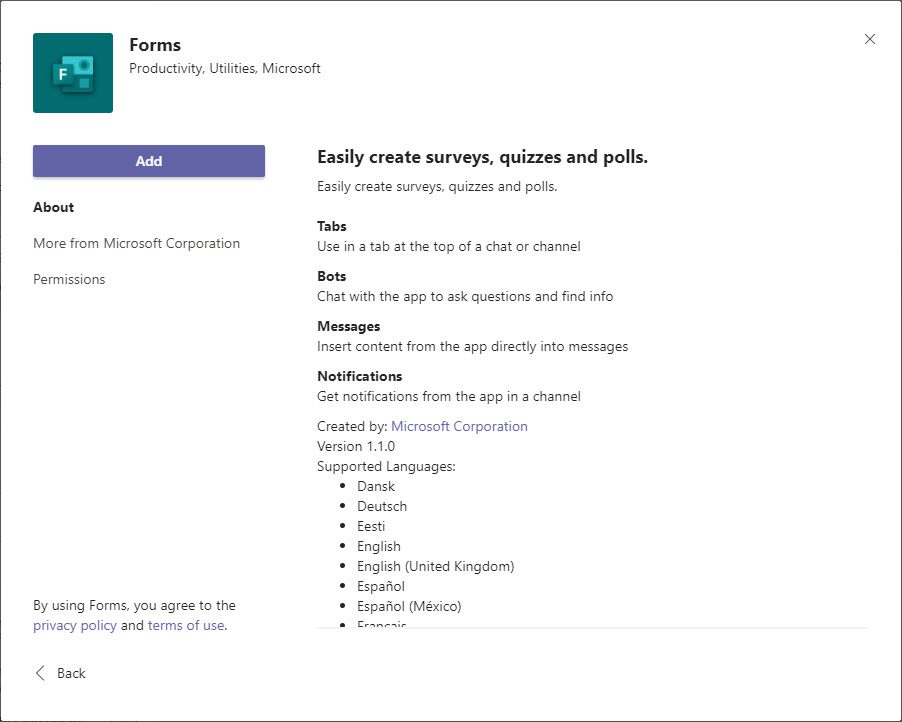
In this example, I have a weekly recurring meeting, and want to poll the participants on a number of topics. As you can see in the diagram, the meeting has a running chat to which I am adding the Forms app and creating several polls. When the app has been added, you will see it in the tab bar (highlighted). To create a new poll (or multiple polls) in draft mode, select Create New Poll.
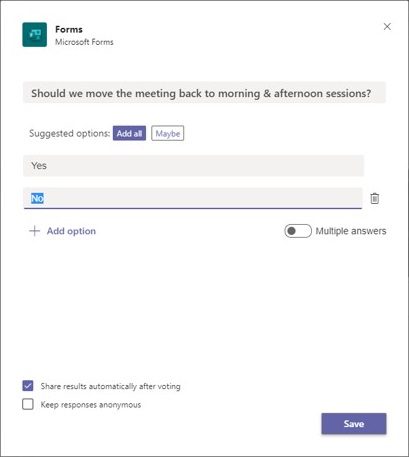
The Forms dialogue box opens. As with the standard Microsoft Forms UX, you have the ability to create basic questions, add/remove responses, and allow for multiple answers. Additionally, you can share the results automatically as people reply, and even make responses anonymous, depending on your audience and the sensitivity of the questions asked.
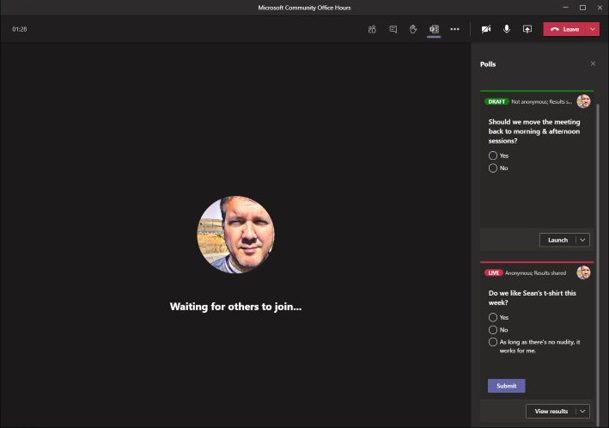
As you prepare various poll questions to be asked during your meeting, you will see them within the Polls tab as drafts. From this view, you can determine the order in which you publish each poll, or launch them all in rapid succession.
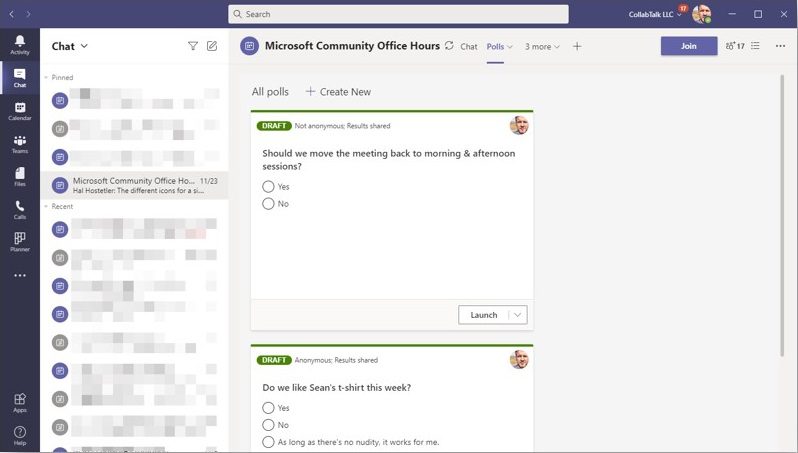
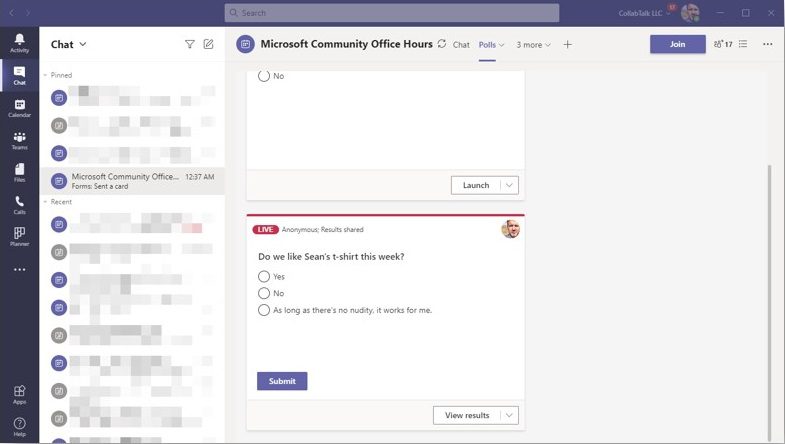
Once again, you can launch a poll before a meeting as part of the related channel conversation, during the meeting, or following. Once you launch a poll, it shows as LIVE within the Polls tab, allowing you to quickly see which questions have been launched and check their live stats.
Viewing poll results
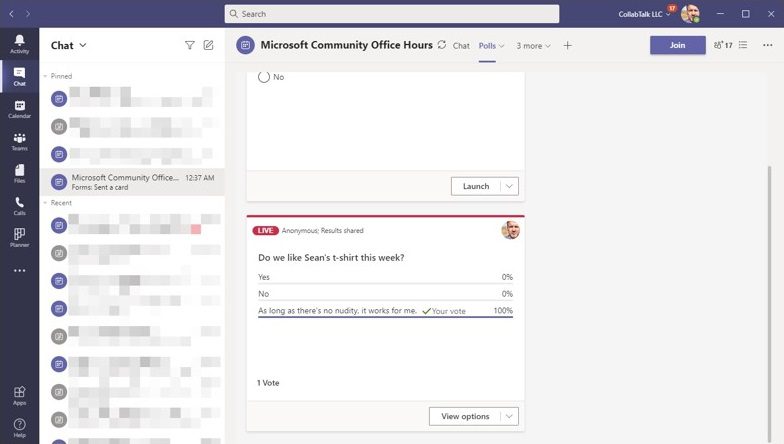
As shown at the bottom of the previous image, clicking View Results allows you to track responses in real-time. As people respond, the data updates dynamically. Clicking on View Options gives you the ability to close the poll, export the results to Files, or delete the poll.
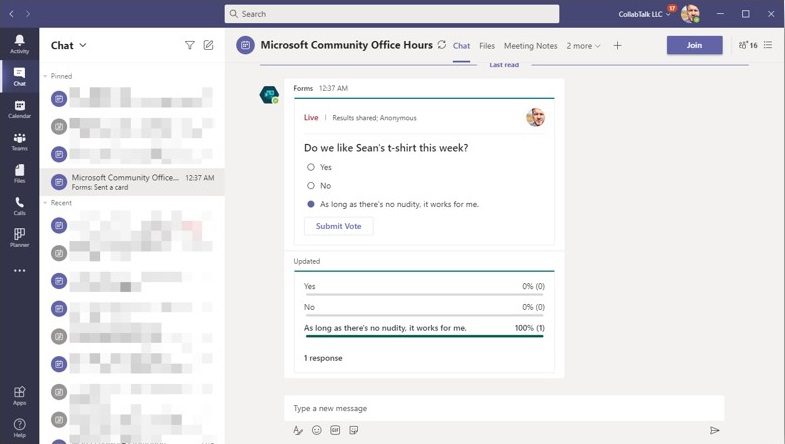
From the participant perspective, people will see and be able to respond to your polls within the meeting chat. And if you have selected the option to make results visible, they will also see the cumulative responses to the questions.
Within your Meeting itself, participants can select the Poll icon from the top nav bar to view any published polls. The organizer can select the Polls icon from the menu and see all of their draft and live polls, and launch questions when appropriate.
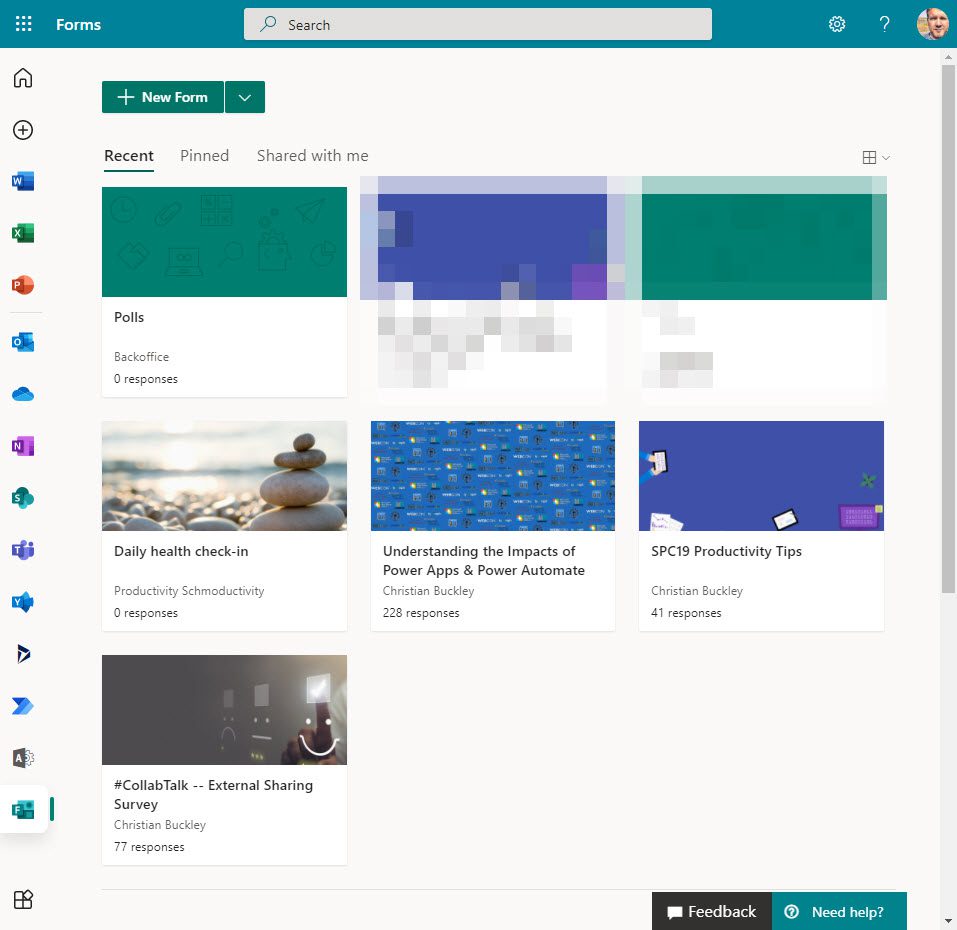
Following your meeting, all of the results will continue to be available in the Polls tab until the organizer has deleted / removed the poll. Another really nice feature is that you can go to Forms.Microsoft.com and see all of the polls and forms you have created in one place.
You can read more about this cool new capability and other new features on the Microsoft blog

